During the lockdown, you might feel overwhelmed and bogged down. The best way to beat that same old routine is to do something novel like bake a cake, disinfect home, try new recipes, but what if cooking is not your cup of tea. You can do something manly, refinish your old furniture. Let’s start with the benefits of refinishing old furniture and DIY guides on how to do it.
Benefits of refinishing old furniture versus buying new
If you are tired of the same old furniture, you have two options. Either you can spend money and buy new furniture or you can restore the old pieces. At first, buying new furniture seems to be a convenient option, but when you dig deeper, you will understand the benefits of repurposing old furniture. Here are 4 benefits of restoring old furniture.
1 It is eco-friendly
Similar to you many people think that buying new furniture is the best bet and this end up filling landfills every year. It adds to space and emits hazardous gases. This is why restoring old furniture is good for the environment. In this way, you will be reducing carbon footprint and helping the younger generation to take one step ahead for a sustainable future.
2 Old is gold
We all know older furniture is made from better wood, specifically handcrafted solid wood with quality upholstery and best finish. Restoring old furniture means you can enjoy the same quality for the years to come. Instead of replacing those furniture pieces, you can improve the lifespan of the current piece of furniture by restoring it.
3 It will help you to save money
New furniture has two qualities: it will cost a lot and it may not last for a long time, though salesman may make tons of promises. Even the basic set of wood furniture may cost you around 20,000 and the cost of installing may even stretch more. The cost of restoring old furniture is a fraction of the price. You can save money for the rainy day and do home improvements.
4 Your old furniture will look unique
Many people who go to the furniture shops to buy antique furniture and you have that in your home. The bed that you may buy is likely a thousand other homes might have the same. When you restore old furniture you give your home a uniqueness of its own. No homeowner will have the exact style of furniture and upholstery that you have, so your home ends up looking unique.
There are several more reasons to restore old furniture rather than replacing it. And, it is the best way to show off your creativity.
DIY how to restore home furniture
Now we all know restoring old furniture is a smart move, now we will learn how to restore it.
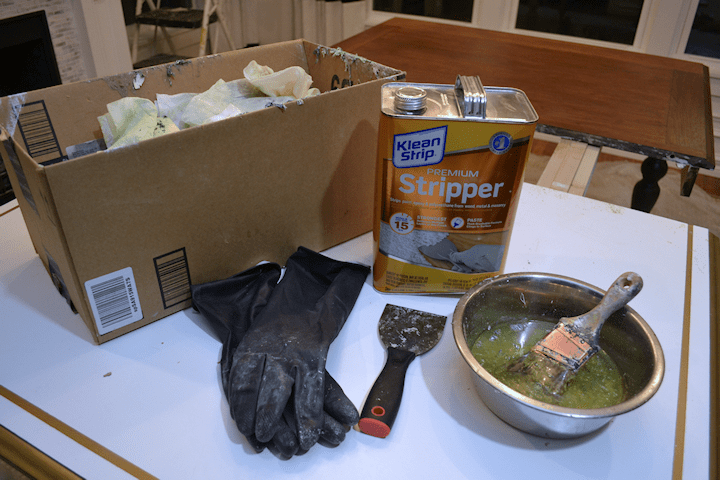
1 Use striper
For small old furniture restoration projects, use aerosol spray paint stripper. It is highly convenient and doesn’t spill. You can spray the stripper over the wood and let it settle down for 5-10 minutes. You will see the old finish will be scraped slowly and slowly from the wood.
2 Scrape off the old finish
With a scraper, scrape off the old finish. Wipe it with the soft cloth. You may even apply stripper and scrape more than once to remove the old finish.
3 Clean with spirits
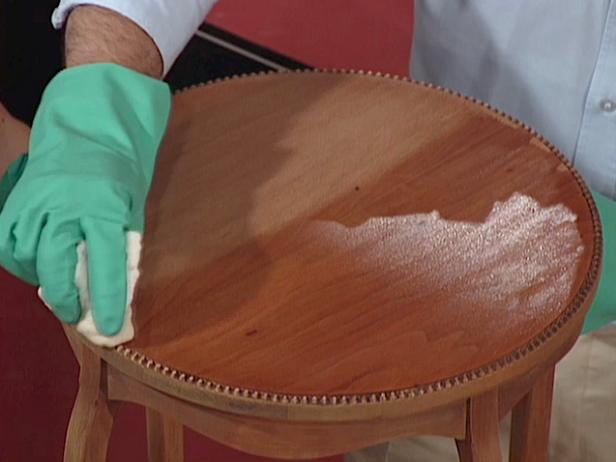
Once the process of scraping is complete let the surface dry, wipe it with mineral spirits using the cloth to remove any residue. Allow the table to dry fully to make it ready for the process of sanding.
4 Start with the sanding process
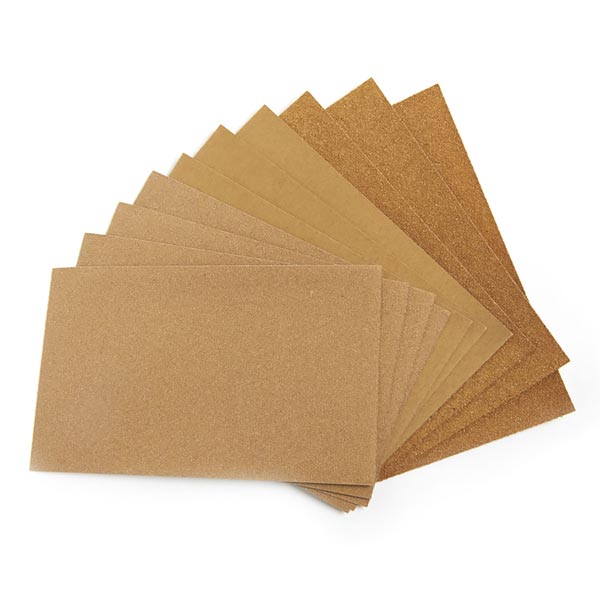
To clean last bits of finish, use sanders along with medium-sized sandpaper till you see the bare wood. Then you can switch to fine sandpaper till the entire table becomes uniform in look.
5 Remove sanding
Wipe with cloth, the whole surface to remove any sanding residue or any kind of sanding dust during the cleaning process.
6 Staining process
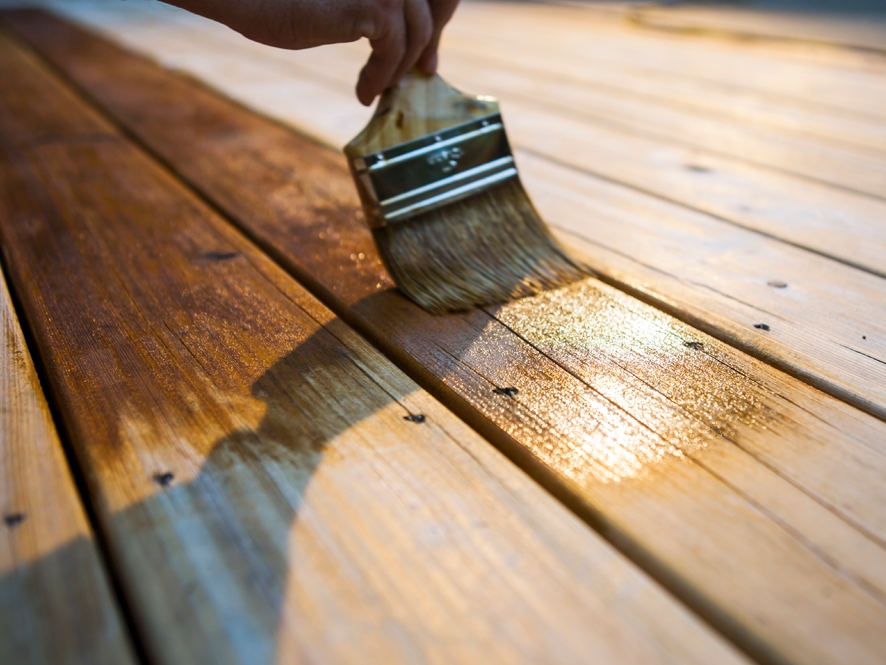
Now, the next step is to do staining. Staining is the easiest process that you can do with staining pad. Dip the pad with stain and wipe with using long strokes.
7 Remove any excessive stain
With the help of clean wiping cloth you can remove the excessive stain. Wipe it lightly not harshly to avoid any kind of stains. You need multiple coats to remove the excess color. Keep following the similar process and ensure that the stain should dry so that you can understand how the table surface should look and whether to add another coat or not.
8 Apply the coat
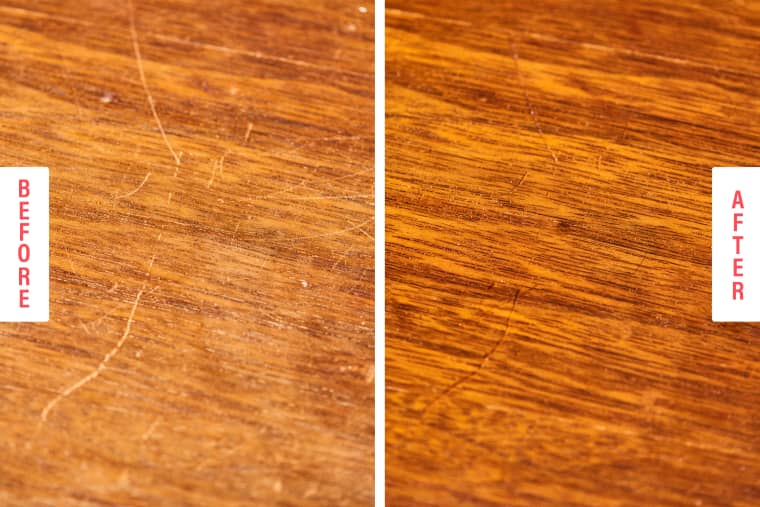
Once the last coat of staining is dry, apply oil-based coat for an extra sheen and protection. You can use spray on coat, as it is easy to apply and offers great coverage. Spray it in the right motions depending upon the construction of the table. Apply two coats of finish, sand in between with 200 grit sandpaper, once the first coat is dry, This technique will smoothen any kind of imperfections and will give your table professional finish. Then spray on the final layer of paint.
9 Let the paint dry
Once the coating is done, let it dry in a warm, well-ventilated room for at least 24 hours. Your options for repainting the furniture are many. You can select whatever color that you want, provided it should match with the overall project. In this way, you can give a new life to an old piece of furniture.
Precautions that you should exercise
Assess the mineral spirits
Before you begin with the repair project, assess the mineral spirits. After applying it, the spirits temporarily saturate and will give you an overview of how the furniture will look like. If it looks good, you can go ahead with the next step. If the surface looks bad with mineral spirits, you have to take other ways to restore the furniture.
Conclusion
With little elbow and grease, you can make your old furniture look like new one. Initially, it may look challenging but as you progress, it will look like a simple DIY task.

